
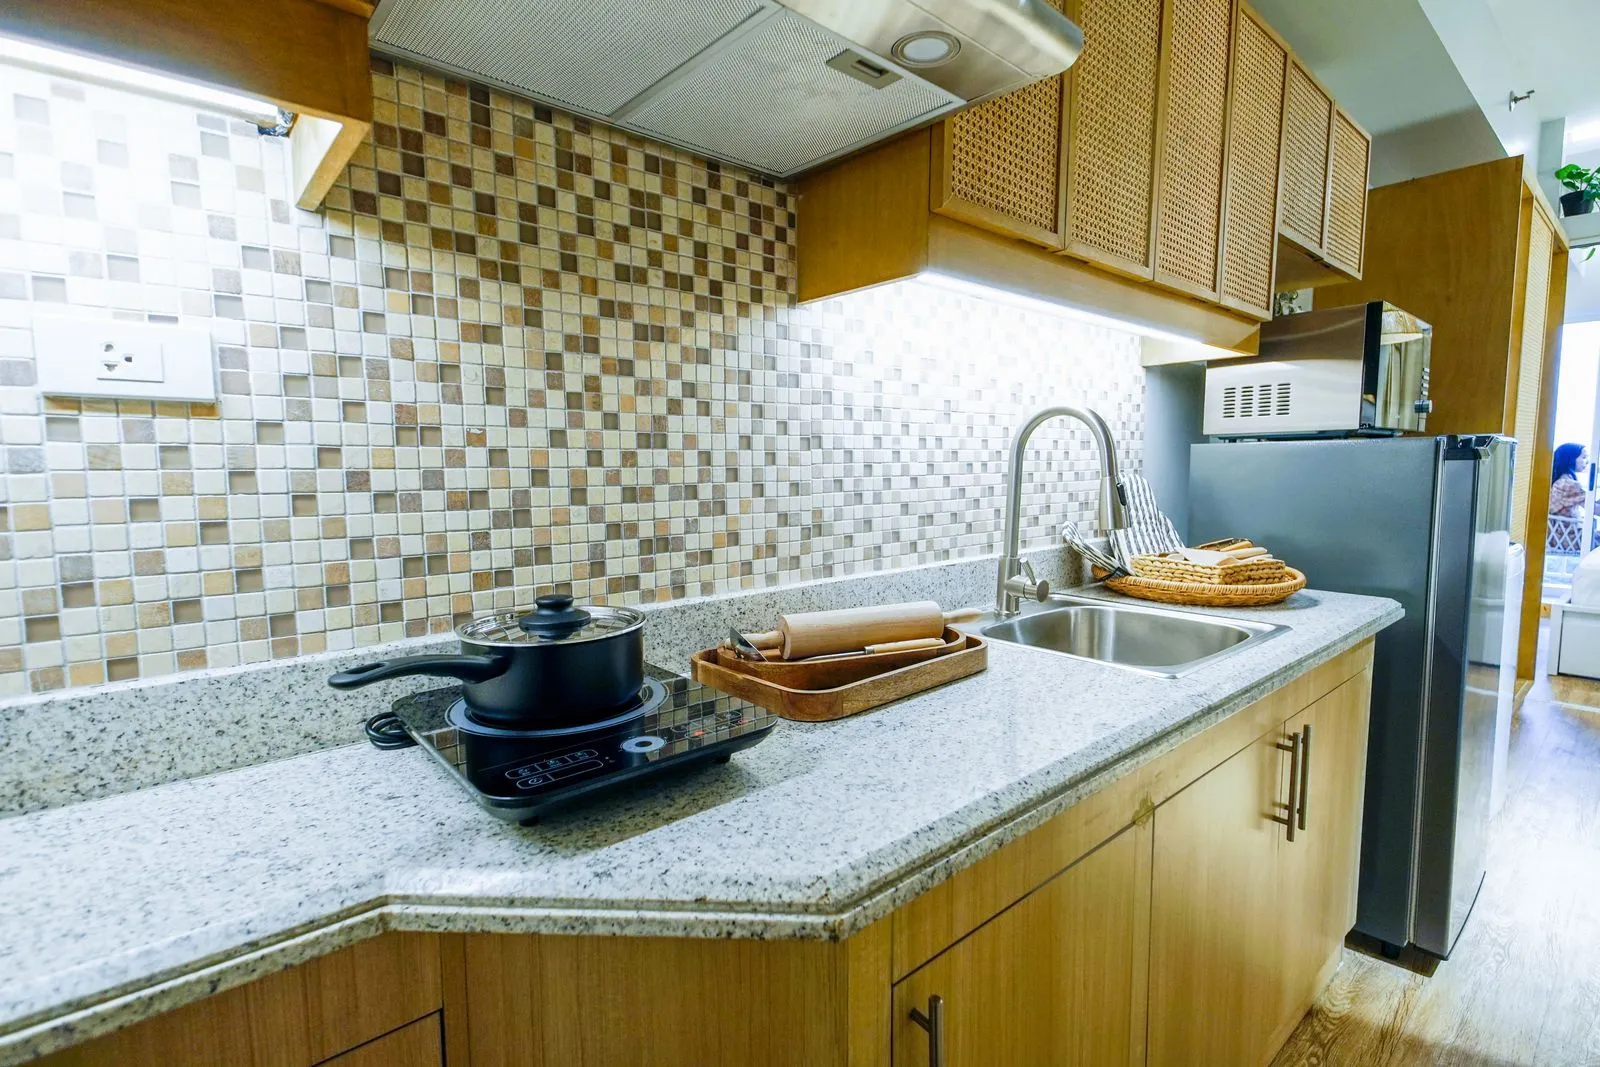
Outlets can interrupt an otherwise seamless backsplash, but careful planning makes them feel integrated rather than awkwardly placed. Before setting tile, measure each outlet, map its position on the wall, and compare those measurements with the tile pattern. This helps avoid narrow slivers, off-center cuts, and openings that expose unfinished edges. A thoughtful layout also keeps outlet covers aligned and usable. Here’s how to plan the details before installation begins.
Measure Every Outlet
Turn off power to the affected circuit at the breaker before removing outlet covers or working near electrical devices. Use a voltage tester to confirm the power is off. Measure each outlet’s width and height, then record its distance from fixed reference points, such as the countertop, a cabinet edge, or a corner. Measure to the electrical box or device opening—not just to the cover plate.
Do not assume outlets line up or share identical dimensions. A backsplash wall may have slight variations, and boxes can sit at different heights or angles. Note any outlet that is unusually close to a corner, cabinet, or window. These details influence where tile seams and cuts can land.
Set the Tile Layout
Choose the tile pattern first, then mark a level reference line for the installation. Dry-lay tiles or create a scaled layout on paper to see where grout joints will fall around each outlet. Shift the starting point when needed to balance the cuts across the wall and avoid thin strips beside openings or at the backsplash ends.
Look at the full wall, not only the area around an outlet. A centered tile cut can look tidy in isolation but create an awkward sliver at a cabinet edge. Aim for cuts that feel consistent and intentional across the whole backsplash. For patterned tile, also check how the design continues through each outlet area.
Mark Openings Carefully
Transfer the outlet measurements onto the tile face or a template, allowing for the tile’s position and the planned grout joints. Check each mark against the wall before cutting. For a small opening, a tile may need a notch or an L-shaped cut; for a larger opening, a hole saw or other suitable tool may be appropriate for the tile material.
Keep the finished opening within the outlet cover’s footprint, while leaving enough access for the device and its mounting screws. Avoid oversized cuts that leave visible gaps beyond the plate. Make test cuts on spare tile when possible, and use the blade and safety equipment recommended for the tile type. A tile professional can handle complex cuts or fragile materials.
Check Fit and Finish
Dry-fit each cut tile before applying adhesive. Confirm that it sits flat, the outlet remains accessible, and the cover plate will conceal the cut edges. If the device sits recessed after the tile is installed, use a code-compliant box extender rather than pulling the device forward with its screws. Electrical work should follow local requirements; consult a licensed electrician if the box or wiring needs adjustment.
After the tile and grout have cured according to product instructions, reinstall the cover plates and check that they sit level without rocking. Choose plates that suit the tile finish, and avoid tightening them so firmly that they crack. If a plate cannot cover an opening cleanly, correct the tile or electrical-box fit instead of relying on caulk to hide a poor cut.
A polished backsplash starts with accurate measurements and a layout that considers the whole wall. Plan outlet openings before cutting, test each fit, and address box depth safely so the finished plates sit neatly. For a carefully coordinated installation in Honolulu, Honolulu Tile Studio can help you plan the tile layout and outlet details.